Peak Pro Painting
History of Peak Pro Painting
Peak Pro Painting has been proudly serving customers for over 13 years, building a reputation for exceptional craftsmanship and outstanding customer service. Founded by Justin and Jane, a happily married couple, the company has earned the Angi Super Service Award every year since its inception, thanks to a commitment to excellence and client satisfaction. With over 2,000 positive reviews and an A+ rating with the Better Business Bureau, Peak Pro Painting has become a trusted name in both residential and commercial painting. Peak Pro Painting’s dedication to quality, integrity, and personalized service continues to drive its success, making it the go-to choice for homeowners and businesses alike.
Licensed + Insured
Peak Pro Painting is fully licensed and insured, providing you with peace of mind knowing that your property is in professional, capable hands. Our team follows all local regulations and industry standards, ensuring quality and safety on every project.
2000+ Reviews
With more than 2,000 positive reviews from satisfied clients, Peak Pro Painting has built a strong reputation for excellence. Our customer feedback speaks for itself, demonstrating our dedication to delivering top-notch service and results every time.
Small Local Business
As a small, local business, Peak Pro Painting is deeply committed to serving our community. We take pride in building long-lasting relationships with our clients and ensuring that each project is handled with personalized care and attention.
No Obligation Estimates
At Peak Pro Painting, we offer free, no-obligation estimates to help you make informed decisions about your painting project. We believe in transparency and clear communication, providing you with all the details upfront—no hidden fees or surprises.
Who Is Peak Pro Painting
Meet Justin and Jane
Take a Look at Our Yearly Company Trips
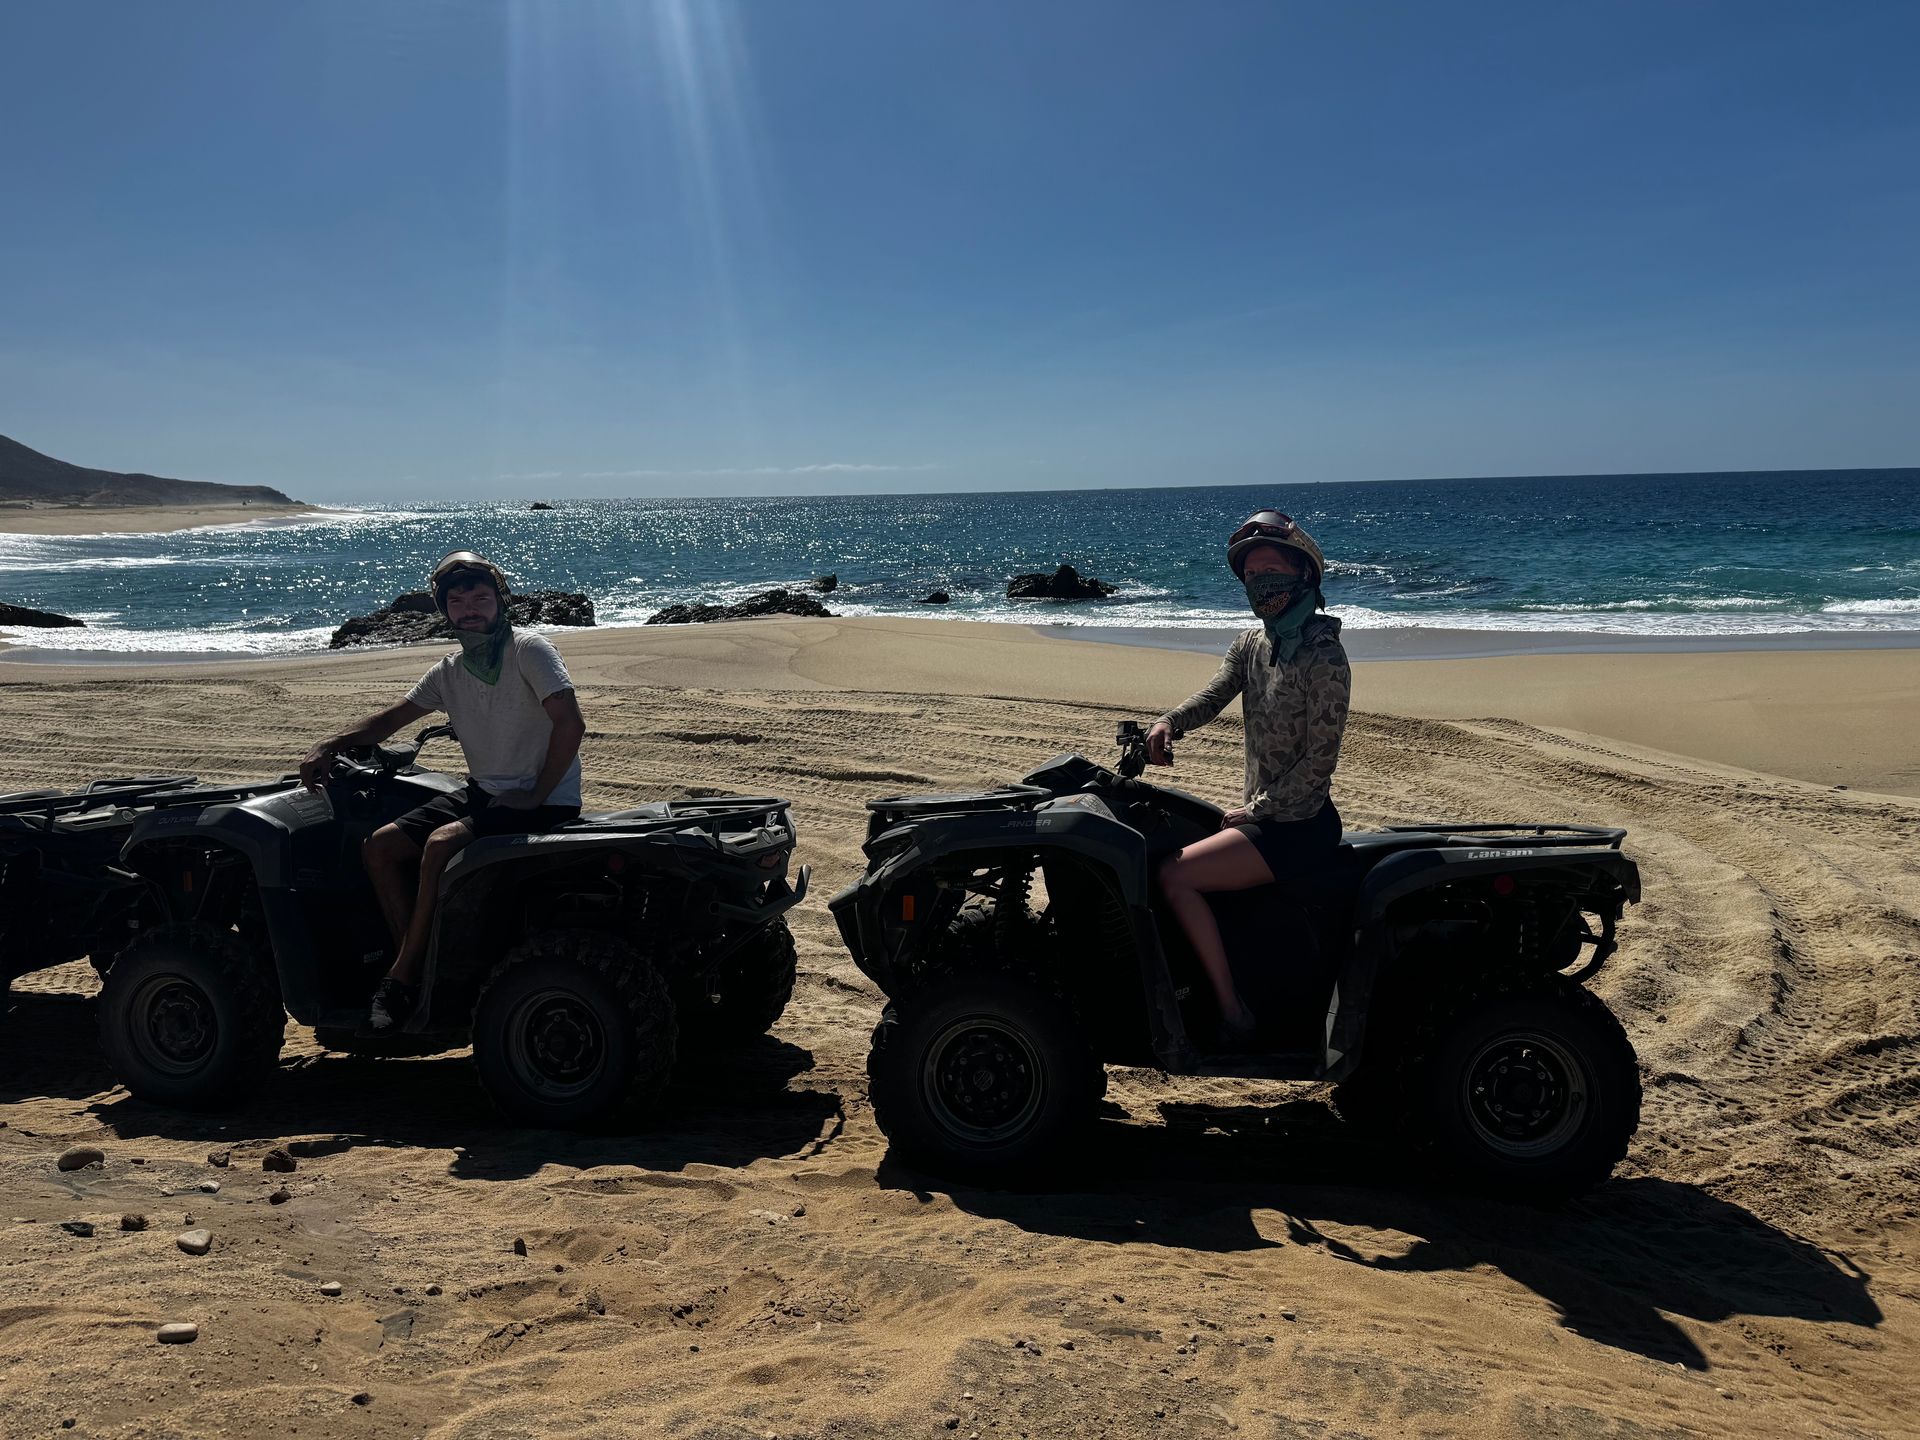
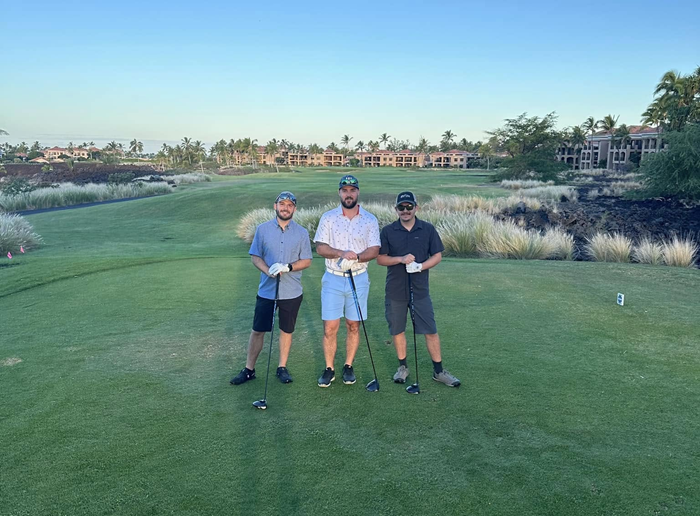
At Peak Pro Painting, we believe a strong team is the foundation of exceptional service, which is why we make it a priority to celebrate our hard work together each year with a company trip. This annual tradition is our way of showing appreciation to our dedicated crew, giving everyone a chance to relax, recharge, and build even stronger connections outside of the job site. Whether it’s exploring a new destination, enjoying great food, or simply spending quality time together, these trips remind us that we’re more than just coworkers—we’re a family. It’s this sense of camaraderie and teamwork that carries over into every project we take on for our clients.

Mexico 2024
This is the text area for this paragraph. To change it, simply click and start typing.

Mexico 2024
This is the text area for this paragraph. To change it, simply click and start typing.
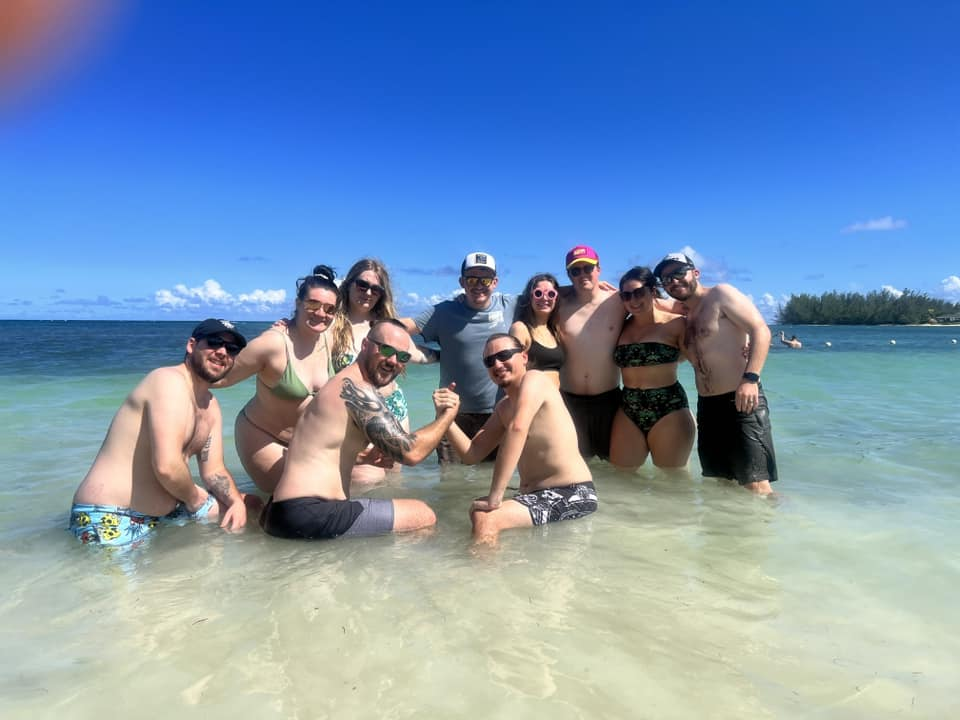
Jamaica 2023
This is the text area for this paragraph. To change it, simply click and start typing.

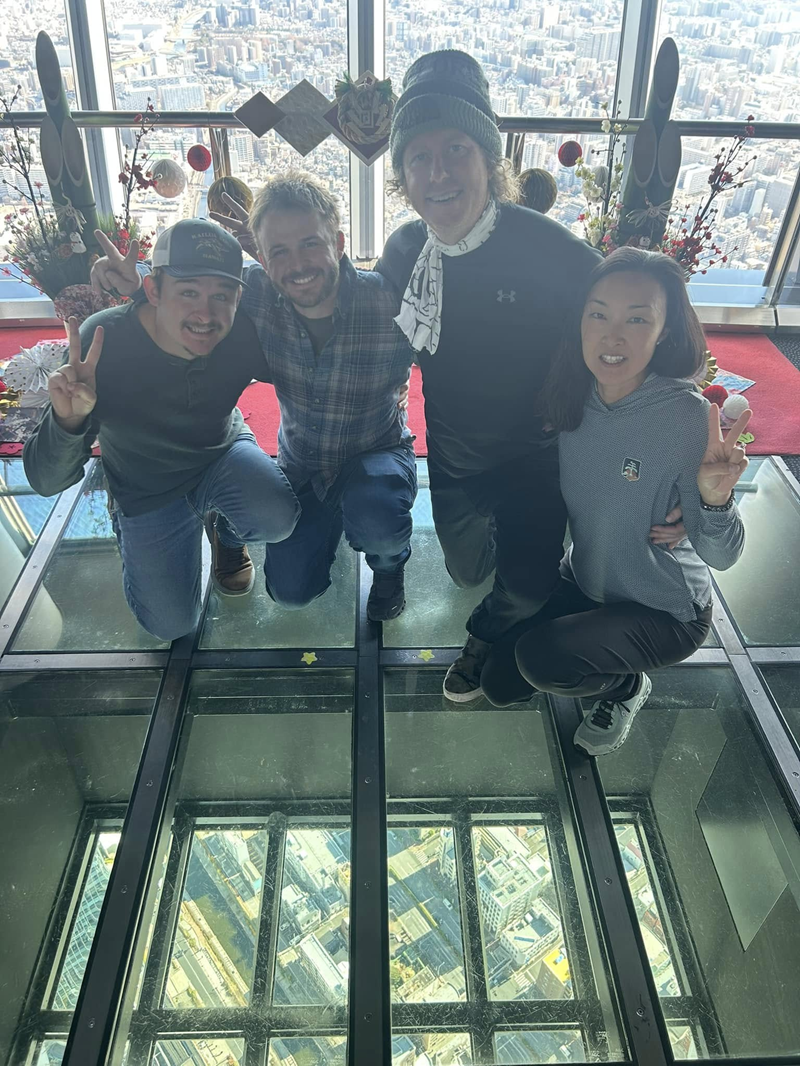
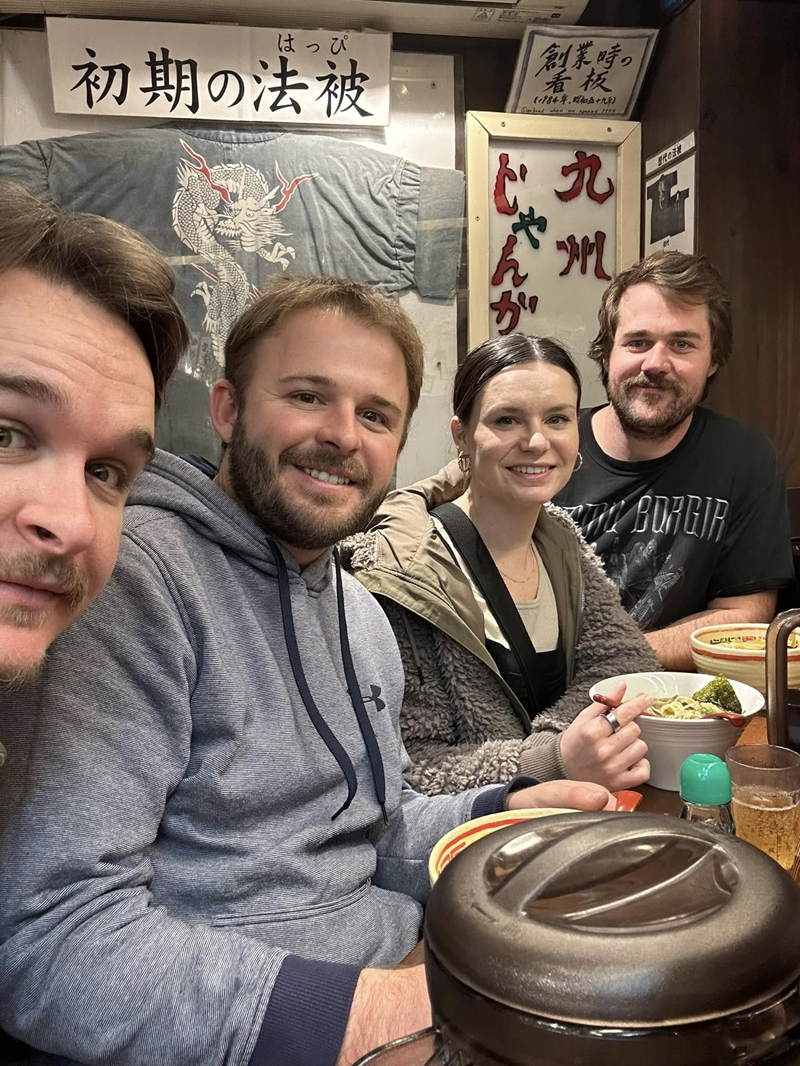
Japan 2024
This is the text area for this paragraph. To change it, simply click and start typing.
Warranty
At Peak Pro Painting, we stand behind our work with a 2-year warranty that covers our craftsmanship and materials, giving you peace of mind long after the project is complete. While our warranty covers nearly everything, top-facing surfaces are excluded due to their increased exposure to the elements. Our process is simple and customer-focused—we start with a detailed estimate, take photos of your project, and take the time to understand your vision. From there, we schedule your project at a time that works for you and maintain clear communication every step of the way to ensure a smooth, stress-free experience.
Painting Process
At Peak Pro Painting, our process is simple but built around quality and attention to detail. We start with thorough prep work, including protecting your space, repairing surfaces, and ensuring everything is ready for a smooth, long-lasting finish. Next, we apply premium paint with precision and care to achieve clean, even results. Once complete, we handle a full cleanup and walk through the project with you to make sure everything meets your expectations.